

Cracking pressure marks the precise moment a Hydraulic Safety Valve begins to open. I find this setting absolutely critical for system integrity. Accurate cracking pressure ensures robust system protection and maintains optimal operational efficiency, preventing costly damage.
Key Takeaways
- Cracking pressure is when a hydraulic safety valve first opens. Setting it correctly protects your system and makes it work well.
- Always set the cracking pressure above the system’s normal working pressure. Also, consider the strength of all parts and add a safety buffer.
- Use good pressure gauges and follow a step-by-step process to set the valve. Check it often and replace it if it is too damaged to fix.
Understanding Cracking Pressure in a Hydraulic Safety Valve
What Cracking Pressure Means
I define cracking pressure as the exact point where a valve just begins to open. This action results in an infinitesimally small flow. This pressure is primarily determined by the area of the poppet or ball where the inlet pressure acts. The strength of the spring, including its rate and pre-compression, also pushes the poppet or ball onto its seat. It is a static pressure. This differs from the dynamic pressure a flowing fluid exerts. It is also lower than the full flow pressure needed to fully open the valve. More precisely, cracking pressure is the minimum upstream pressure required to open a check valve enough for detectable flow. Detectable flow means a small but steady passage of liquid or gas through the valve body and out its outlet port. It is the pressure differential between the valve’s inlet and outlet ports when I first observe flow.
Why Accurate Cracking Pressure is Essential
I find accurate cracking pressure absolutely essential for system protection. An incorrect setting can lead to system damage or even failure. If the cracking pressure is too low, the valve might open prematurely. This causes energy loss and inefficient operation. If it is too high, the system could experience excessive pressure. This stresses components and potentially leads to catastrophic failure. I always ensure this setting is precise to maintain system integrity and operational efficiency.
Cracking Pressure vs. Full-Flow Pressure
I often see confusion between cracking pressure and full-flow pressure. Cracking pressure is when the valve just starts to open. Full-flow pressure is the pressure at which the valve is fully open and allows maximum flow. The difference between these two is called pressure override. For instance, if a relief valve cracks open at 1200 PSI and reaches full flow at 1800 PSI, the pressure override is 600 PSI. This large override can cause system pressure to overshoot safe limits. This potentially stresses or damages sensitive components. Direct-acting valves typically show more significant pressure override. Pilot-operated valves are usually chosen for applications needing very low pressure override at higher flow rates. However, they might have a slower response time. I consider these differences crucial when selecting and setting a Hydraulic Safety Valve.
Key Factors for Cracking Pressure Calculation
When I determine the correct cracking pressure, I consider several critical factors. These elements directly influence the safety and efficiency of my hydraulic system. Ignoring any of them can lead to significant problems.
Maximum System Operating Pressure
I always start by identifying the maximum pressure my hydraulic system normally operates at. The cracking pressure for the safety valve must be set above this maximum operating pressure. This prevents the valve from opening prematurely during normal operation. If the valve opens too soon, it wastes energy and reduces system efficiency. I ensure the cracking pressure provides a sufficient buffer above the highest expected working pressure.
System Component Pressure Ratings
I also pay close attention to the pressure ratings of all system components. Every part, from hoses to cylinders, has a specific maximum pressure it can safely withstand. I must never exceed the lowest rated component’s pressure limit. For example, different materials offer varying pressure capabilities:
| Material | Typical Pressure Rating (PSI) |
|---|---|
| Carbon Steel | 6,000 – 10,000 |
| Stainless Steel | 10,000 – 20,000 |
| Brass | 3,000 – 5,000 |
| Aluminum | 2,000 – 4,000 |
I have seen filter housings and sectional spool valves fail at 5,000 psi in field conditions. After redesigns, these components passed retesting without further failures. This shows me the importance of respecting these ratings. Manufacturers often test components rated at 5,000 psi to withstand 10,000 psi for a proof test, a 2x safety factor. They also demonstrate an average burst pressure exceeding 20,000 psi, reflecting a typical 4x safety factor for burst tests.
Desired Safety Margin
I always incorporate a safety margin into my cracking pressure calculation. This margin provides an extra buffer. It protects the system from unexpected pressure spikes or transient loads. A typical safety margin might be 10-15% above the maximum operating pressure. This ensures the valve only activates when absolutely necessary. It prevents damage during unforeseen circumstances.
Calculating the Correct Cracking Pressure
When I calculate the correct cracking pressure, I move from understanding the factors to applying specific methods. This step ensures my hydraulic system operates safely and efficiently. I rely on established industry practices and careful consideration of valve types.
Standard Calculation Method (10-15% Rule)
I always begin with the industry-standard 10-15% rule. This rule provides a reliable starting point for setting the cracking pressure. It ensures the valve opens only when necessary, preventing premature activation during normal operation. I apply this rule based on the maximum operating pressure of my system.
The industry-standard 10-15% rule for calculating hydraulic safety valve cracking pressure is established at 10-15% above the maximum differential pressure for pumps with internal relief valves or the maximum discharge pressure for pumps with return-to-tank valves or in-line system valves.
I find this rule crucial for maintaining a safe buffer. It prevents the valve from “weeping” or opening slightly under normal load. This also ensures the valve is ready to relieve pressure during an actual overpressure event. I always confirm my maximum system operating pressure before applying this percentage.
Internal Relief Valve Considerations
Internal relief valves present unique considerations for cracking pressure calculations. Their design often incorporates several elements that can influence the actual pressure at which they open. I pay close attention to these details.
Several factors within the valve itself can affect its cracking pressure:
- Mechanical stack-up: This refers to the accumulation of tolerances in the dimensions of various internal components. It can influence the overall pre-load on the spring and thus the cracking pressure.
- Spring rate tolerance: The variability in the spring’s stiffness directly impacts the force required to compress it. This affects the cracking pressure.
- Durometer tolerance: This relates to the hardness of elastomeric seals within the valve. Variations in durometer can alter how well the seal resists initial movement, influencing cracking pressure.
- Fluid type: The fluid passing through the valve can create ‘sticking forces’ between internal components. This happens especially at lower pressures. Lubricated air, water, or chemicals can get between components. This affects the force needed to open the valve. It alters the cracking pressure from what I might measure with air.
I also understand that cracking pressure (dP) is a required specification for each relief valve type. I calculate it based on the relief valve inlet pressure (PV,I) and the relief valve outlet pressure (PV,O). The outlet pressure (PV,O) can vary significantly. I consider these scenarios:
- The valve is relieving into downstream piping (Cases 1 & 1a).
- The valve is relieving into ambient conditions (Cases 2 & 3).
These variations mean I must carefully assess the specific application of the internal relief valve. This ensures an accurate cracking pressure setting.
Return-to-Tank and In-Line Valve Considerations
When I deal with return-to-tank valves or in-line system valves, my approach to cracking pressure calculation shifts slightly. These valves typically protect the entire system or a specific section of it. I set their cracking pressure based on the maximum discharge pressure of the pump or the maximum pressure of the protected circuit.
For return-to-tank valves, the valve directs excess fluid back to the reservoir. I ensure its cracking pressure is high enough to allow the system to perform its work. However, it must be low enough to prevent overpressurization. In-line valves protect specific components within a circuit. I set their cracking pressure to safeguard those components without unnecessarily interrupting normal flow. I always refer to the lowest pressure rating of any component in that specific line. This ensures I do not exceed its safe operating limit. My goal is to provide robust protection without causing nuisance tripping or energy waste.
Essential Tools for Setting a Hydraulic Safety Valve
I rely on specific tools to accurately set a Hydraulic Safety Valve. These tools ensure precision and safety during the adjustment process. Without them, I cannot guarantee the valve will perform as intended.
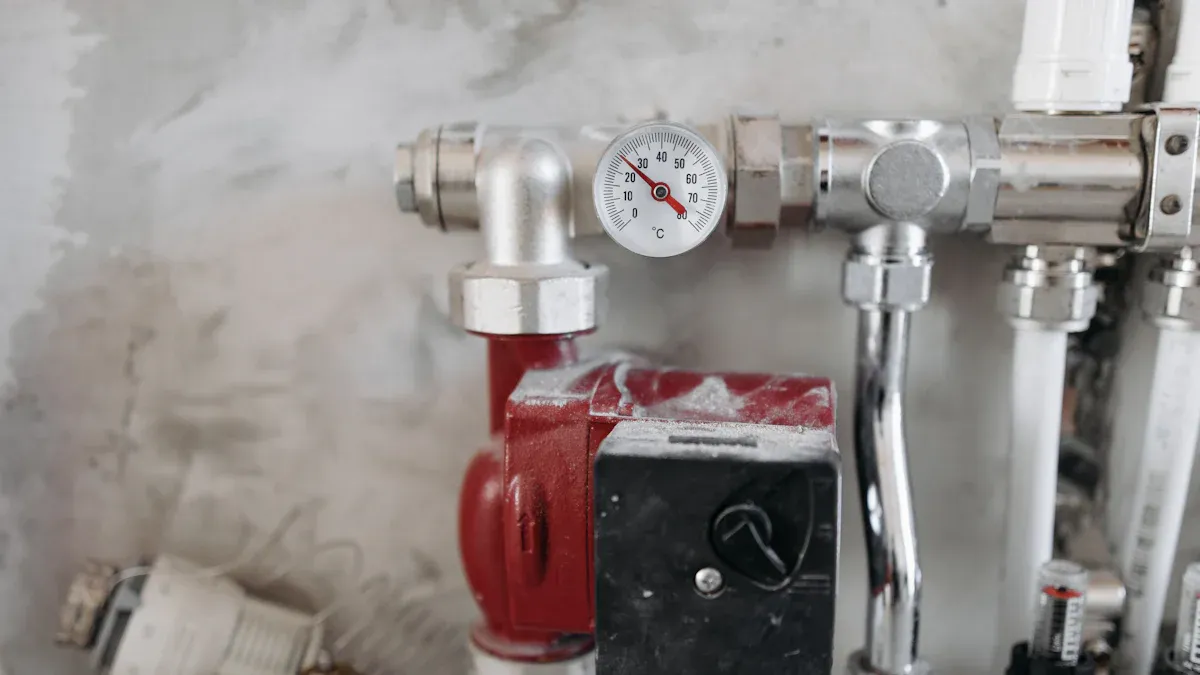
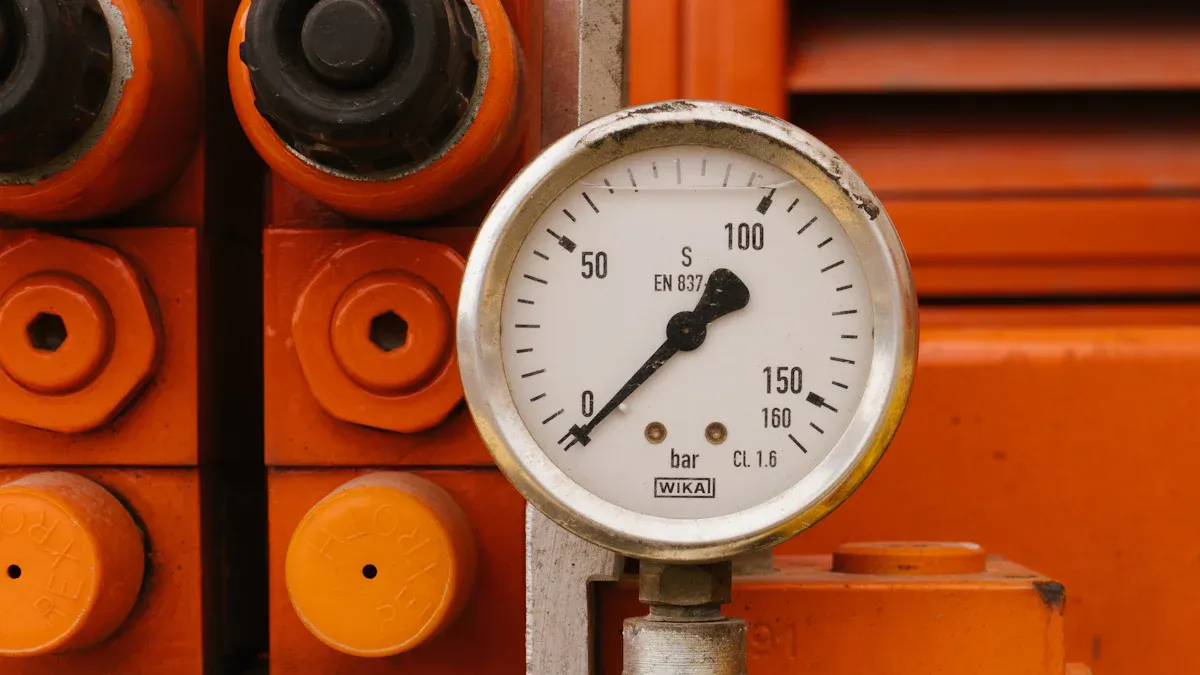
Required Pressure Gauges
I always begin with high-quality pressure gauges. They are absolutely essential for accurate settings. I typically need at least two gauges. One gauge monitors the overall system pressure. The other gauge measures the pressure directly at the valve’s inlet. I ensure these gauges possess the correct pressure range for my application. Their accuracy must be within 1% of full scale. I also verify their calibration regularly. This prevents any incorrect readings. An uncalibrated gauge can lead to dangerous over-pressurization or premature valve activation.
Adjustment Tools
I gather the appropriate adjustment tools before I start. These commonly include various wrenches and hex keys. Some valves might require specialized adjustment tools. I make sure each tool fits the valve’s adjustment mechanism perfectly. A loose or ill-fitting tool can strip the adjustment screw. This makes precise setting impossible. I always prioritize safety when using these tools. I ensure they are in good condition.
Flow Measurement Devices
Sometimes, I need to confirm the valve’s full-flow capacity. For this, I use flow measurement devices. A flow meter helps me verify the Hydraulic Safety Valve opens fully at the set pressure. It also ensures the valve handles the required flow rate. This is especially important for larger, more critical systems. I connect the flow meter downstream of the valve. This confirms its performance under dynamic conditions. It provides crucial data beyond just the cracking pressure.
Step-by-Step Guide to Setting Your Hydraulic Safety Valve
I follow a precise, step-by-step process to set a hydraulic safety valve. This ensures both accuracy and safety. I find this systematic approach prevents errors and guarantees optimal system performance.
System Preparation and Safety Checks
I always prioritize safety before I begin any work on a hydraulic system. My first step involves thorough system preparation and safety checks. I wear appropriate Personal Protective Equipment (PPE), including safety glasses and heavy-duty gloves. I also put on suitable protective clothing. I implement machine-specific Lockout/Tagout (LOTO) procedures. This prevents any accidental startup of the equipment. I confirm the system is fully depressurized before I loosen any fittings or start adjustments. This is crucial unless a ‘hot adjustment’ is specifically required and safe. I always consult the Original Equipment Manufacturer (OEM) manual for specific machinery and valve guidance. This ensures I follow all recommended safety protocols.
Initial Valve Adjustment
After safety checks, I move to the initial valve adjustment. I aim to achieve a preliminary cracking pressure. I adjust the compression of the spring. This directly influences the force needed to open the valve. It sets the cracking pressure. I first identify the specific flow control valve. Then, I locate its adjustment mechanism. These can be knobs, screws, levers, or electronic interfaces. I confirm which way to turn the adjuster to increase or decrease flow. I define my target cracking pressure. I also review hydraulic schematics. This helps me understand the valve’s function within the circuit. I use standard tools like correctly sized wrenches and Allen keys. Sometimes, I need specialized tools like a torque wrench for precise tightening.
Pressure Verification Process
Verifying the cracking pressure is a critical step. I follow a precise process to ensure accuracy.
- I connect a pressure gauge between the relief valve and the pump. I use an existing port or an adapter if necessary.
- I loosen the pressure relief valve adjustment completely. This usually involves a locking hex nut and an Allen head or hand wheel adjuster. I start the equipment and activate the hydraulic circuit. The pressure gauge should read near zero.
- I adjust the relief valve by turning the adjuster clockwise. I continue until the gauge displays the pressure specified in the machine drawings. This reading indicates the valve’s “cracking” pressure. It is the point when it begins to open. I securely tighten the adjuster lock nut without altering the setting.
- I shut down the machinery. I allow the pressure to dissipate. I reconnect any hoses I removed earlier. I restart the machinery. I test the relief valve by activating the circuit. The pressure in the circuit should not exceed the set relief valve pressure.
Fine-Tuning and Locking the Setting
Once I have a preliminary setting, I fine-tune and lock the Hydraulic Safety Valve. I start by understanding the system requirements and specifications. I consult the system manual or manufacturer for valve clearance and adjustment intervals. I use high-quality tools specifically designed for hydraulic valve adjustment. I establish a baseline. I ensure the system is at normal operating temperature. I observe its current state. If it is a new installation, I start from a known position.
For the initial adjustment, I turn the adjuster in the confirmed direction. For pressure-compensated valves, this adjustment typically sets the target flow rate. I cycle the system after each adjustment. I observe and measure the impact. I note changes in actuator speed, flow rate, and system sounds. I iterate and refine for optimal performance. I compare the performance to my target. I repeat the adjustment steps to fine-tune. I am methodical. I track all my adjustments.
Once I am satisfied, I secure the setting. I carefully tighten the locknut to preserve the setting. I tighten any locknuts to prevent the setting from changing. I mark the position for future reference. I document the settings in my maintenance records. I perform performance verification under various conditions. I thoroughly test the system. I conduct system health checks. I inspect for leaks. I monitor temperature. I listen for abnormal noises. Documentation is important. I record settings. I log details for future reference and calibration. I incorporate periodic checks of critical flow settings for long-term monitoring.
Common Mistakes When Setting a Hydraulic Safety Valve
I have observed several common mistakes when setting a Hydraulic Safety Valve. These errors can compromise system safety and operational efficiency. I always pay close attention to these potential pitfalls.
Incorrect Pressure Gauge Readings
I often see issues arise from incorrect pressure gauge readings. An uncalibrated or faulty gauge gives me misleading information. This leads to setting the cracking pressure either too high or too low. If I set it too high, I risk over-pressurizing the system. If I set it too low, the valve opens prematurely, wasting energy. I always verify my gauges are accurate and properly calibrated before I begin any adjustments.
Valve Chatter or Instability
Valve chatter or instability is another common problem I encounter. This happens when the valve rapidly opens and closes, causing noise and pressure fluctuations. I detect this by listening for audible noise or feeling for vibration. I also monitor pressure or flow signals for fluctuations. To troubleshoot, I perform a visual inspection for damage or wear. I verify valve specifications against recommendations. I might also implement solutions like replacing the valve or adding damping devices. This ensures smooth operation of the Hydraulic Safety Valve.
Leakage After Setting
I sometimes find leakage after setting a valve, which indicates a problem. Debris can obstruct the valve, preventing it from fully closing. Wear and tear on the valve seat or seal, especially in harsh conditions, also causes leaks. An incorrectly sized or poorly fitted valve will almost always leak. Pressure spikes from a malfunctioning service port relief valve can force fluid past seals. Operating outside design parameters, contamination in the flow media, misalignment, or incompatible materials can also degrade components and lead to leakage. I always investigate these causes to resolve the issue.
Maintaining Your Hydraulic Safety Valve
I know that proper maintenance extends the life of any component. This is especially true for a Hydraulic Safety Valve. Regular care ensures its reliability and the overall safety of my hydraulic system.
Regular Inspection Schedule
I always follow a strict inspection schedule. This keeps my systems running smoothly. I recommend an initial inspection interval of no longer than 12 months. For valves with a lift lever, I perform a monthly ‘try lever test’. This ensures the disc moves freely. I do this test with the valve at least 75% of its set pressure. This allows it to snap shut for optimal leak-tight performance. I always use appropriate personal protective equipment during this test. I also check safety features and devices associated with the valve block regularly. My daily routine includes checking for leaks, maintaining fluid levels, and inspecting hoses. Weekly, I inspect fluid conditions and check pressure settings. Monthly, I examine hydraulic oil for contaminants and review system operating hours.
Importance of Documentation
I find documentation absolutely critical. It helps me track performance and identify potential issues. I always record details of my pressure relief valve (PRV) inspections. I ensure the PRV is set to the correct pressure. I inspect the valve for wear on sealing surfaces or leaks. I perform pressure tests to confirm the relief valve seats correctly. I also simulate overpressure scenarios to test its opening and closing. For safety valve maintenance, I check seals for wear. I perform functional tests by applying pressure. I calibrate the safety valve to open and close at the correct pressure points. I verify settings match system safety requirements. I also note if electrically controlled servo valves show temperatures above 150℉. This can indicate a problem.
When to Replace the Valve
I understand when to replace a valve instead of repairing it. Replacement is the safer option if the valve body is cracked or severely worn. These issues are typically beyond effective repair. I also consider replacement when a valve experiences repetitive failure. This makes replacement more cost-effective than continuous repairs. Worn or damaged components that I cannot restore through repair also signal a need for replacement. Fluid leaks around the valve area often indicate degraded seals. If repairs are not sufficient to stop these leaks, I know replacement is necessary.
I emphasize that precise cracking pressure setting is vital for hydraulic system safety. Proper setting prevents costly damage and ensures efficient operation. Regular maintenance, including inspections and documentation, extends valve life. This also consistently maintains overall system integrity. I always prioritize these crucial steps for optimal performance and reliability.
FAQ
What happens if cracking pressure is too low?
If cracking pressure is too low, the valve opens prematurely. This wastes energy. It also reduces system efficiency.
Why is a safety margin important for cracking pressure?
I incorporate a safety margin. It protects the system. It handles unexpected pressure spikes. This prevents damage during unforeseen events.
Can I use any pressure gauge to set the valve?
No, I always use high-quality gauges. They must be accurate. They need proper calibration. This ensures correct readings.
Post time: Dec-18-2025